

1
Sign up
Go to the sign-in page and choose Sign up. Enter the business’s Greek VAT number (ΑΦΜ) and press Look up — TaxLayer finds the registered business. Then your name, email and a password, and Sign Up. You’re signed in straight away; there’s no verification email.See Sign up and setup.
2
Tell TaxLayer what you are
Step 1 of 3: choose Accounting firm (you manage many client businesses) or Business (you keep the books for one company). This can’t be changed later, so pick carefully.Step 2 of 3: tick what you want TaxLayer for. Tick everything if unsure — you can hide pages later from Settings › Pages.Step 3 of 3: press Skip for now. Connecting an accounting system is part of the Pro plan; you can do it later from Connections.
3
Connect myDATA
A connect window opens on your first visit. Businesses: on the myDATA row press Connect and enter the AADE user ID and subscription key. Firms: press Add your first client and enter the codes on the client’s Finance & Tax tab, or Invite a client to have them connect their own.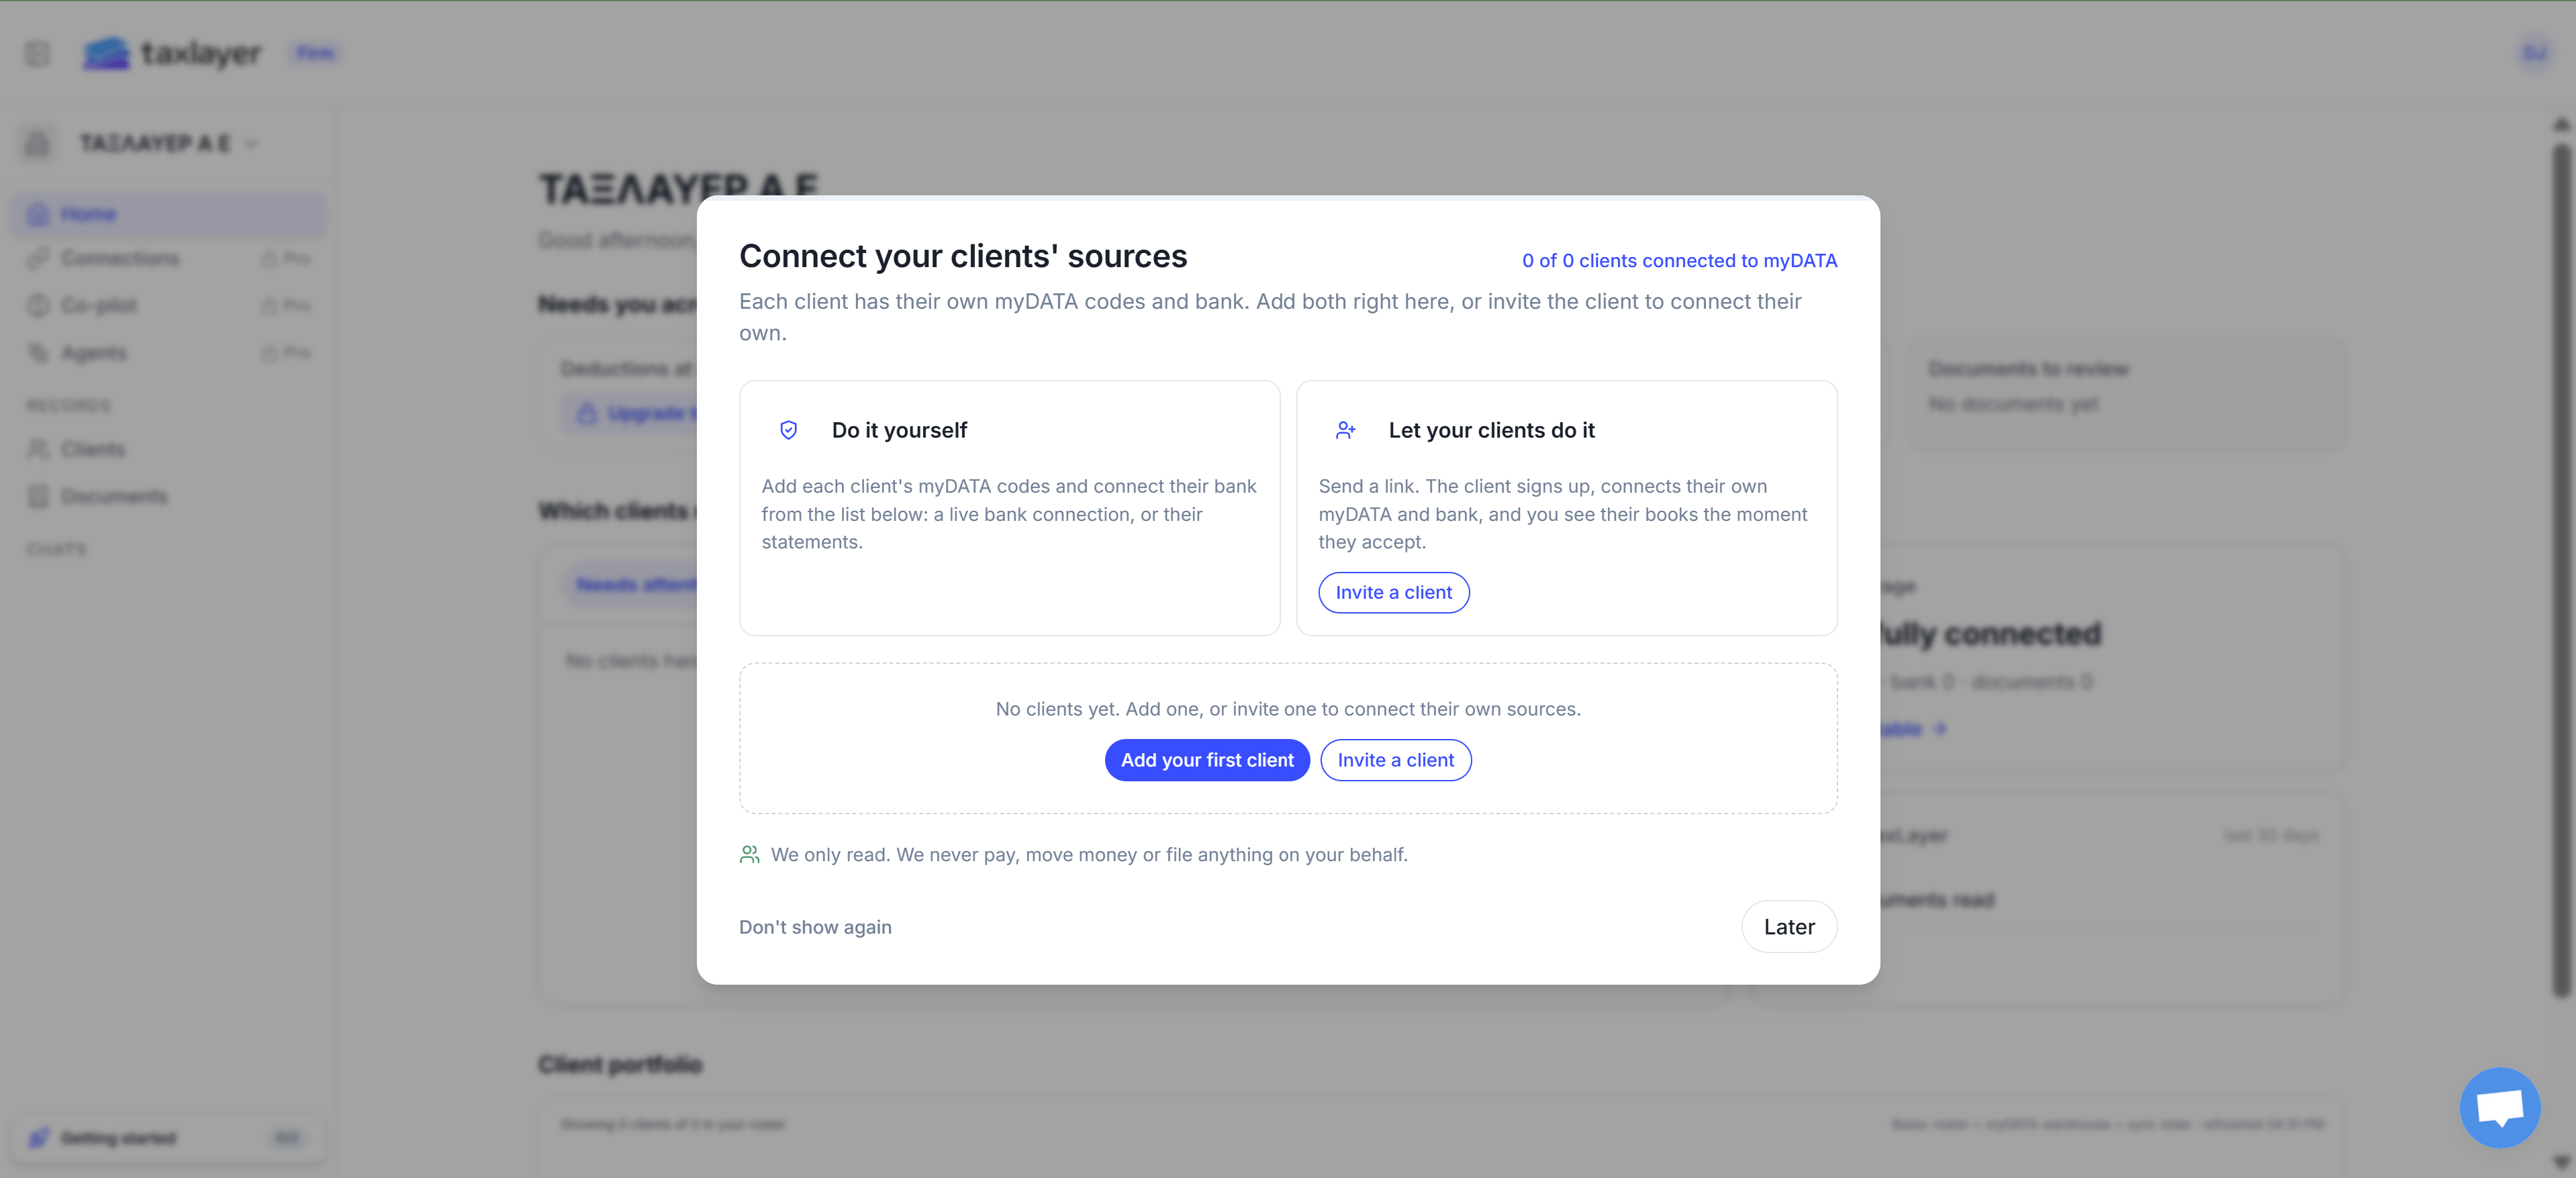
4
Upload documents
Open Documents in the sidebar and press Upload. Drop in PDFs or photos of invoices and receipts. Each one shows a status as it’s read; most reach Ready in under a minute.See Upload documents.
5
Upload a bank statement
Businesses: open Bank Transactions › Upload Statement. Firms: open the client › Bank Transactions tab. PDF statements from any Greek bank work.See Bank statements.
6
Open the Co-pilot
On the Pro plan, Co-pilot in the sidebar lists what doesn’t match across your sources. On the Free plan you’ll see the Home page figures from myDATA, and Co-pilot shows what it would unlock.See Understanding the Co-pilot.
Every new account starts on the Free plan: 1 client, 1 user, 10 documents in total, 100 AI credits a month. Pro removes the document limit and unlocks Co-pilot, Agents, Connections and reports. See Plans and billing.